Step-by-Step Guide to Well Water Testing
A private well can provide dependable household water, but it does not receive the routine monitoring used for public systems. The property owner is responsible for checking its condition. Water may look clear and still contain bacteria, nitrate, minerals, metals, or other substances that cannot be confirmed by sight, smell, or taste.
Professional water testing gives homeowners and buyers useful laboratory information without asking them to choose containers, collect sterile samples, or interpret technical findings alone. A trained provider can plan the evaluation, collect samples correctly, and coordinate laboratory analysis.
Step 1: Explain the Reason for Testing
The process begins with a conversation about the property. A routine annual check may require a different panel than testing after flooding, repairs, a home purchase, or a sudden change in taste or odor.
Tell the provider about recent storms, nearby septic systems, farming, construction, or past well problems. These details help identify suitable tests and sampling points.
For a real estate transaction, mention any softener, filter, storage tank, or other treatment equipment. The provider may check untreated water, treated water, or both.
Step 2: Select a Suitable Test Panel
No single test covers every possible concern. The panel should match the well, local conditions, and reason for testing. Florida health officials recommend that private well owners test for bacteria and nitrate at least once each year. Other tests may be useful when local risks or visible concerns suggest a wider issue.
A professional may discuss:
- Bacteria and nitrate: Bacteria can suggest that germs are entering the water. Nitrate may be connected to fertilizer, septic waste, animal waste, or other sources.
- General quality: Tests for pH, hardness, dissolved solids, iron, and manganese can help explain scale, stains, corrosion, cloudy water, or unpleasant taste.
- Property-specific risks: Nearby land use may support testing for metals, pesticides, volatile organic compounds, or other substances.
Step 3: Review the Well and Nearby Conditions
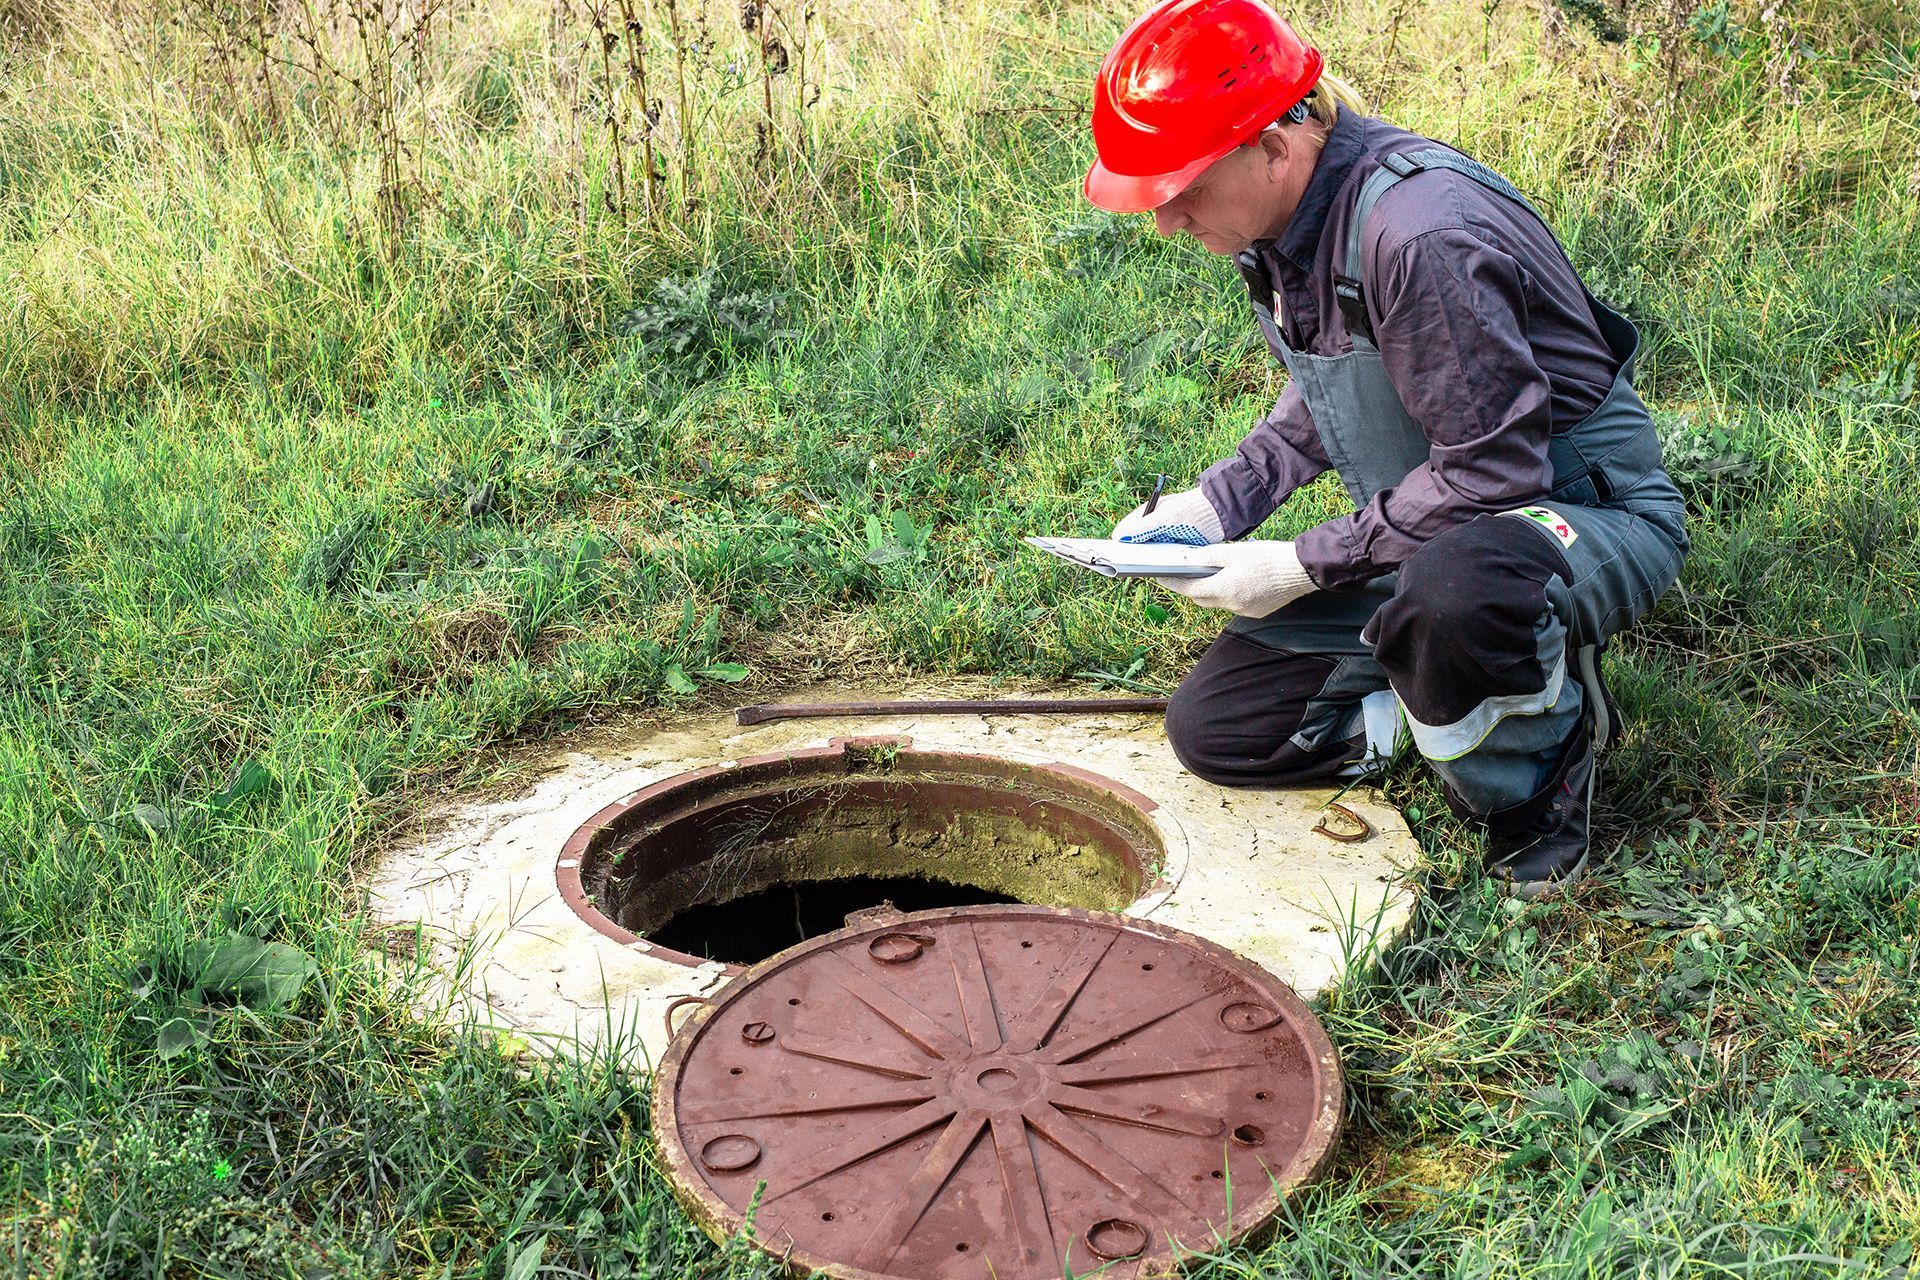
Before collecting samples, the professional may examine the visible well area. Laboratory results show what is present in the sample, while the property review may reveal conditions that increase contamination risk.
The inspector may review the well cap, casing, drainage, standing water, and nearby pollution sources. Damage or poor sealing may require attention.
This step is especially helpful in South Florida, where heavy rain and flooding can allow surface water to reach a vulnerable well. A secure wellhead and good drainage support long-term water safety, but laboratory analysis is still needed. This review also supports water safety planning.
Step 4: Choose the Correct Sampling Points
Sampling location changes what the results mean. A faucet before treatment can show untreated water, while a faucet after treatment can show the water used inside the home. Testing both may reveal whether equipment is working as expected.
The professional selects suitable cold water taps and avoids locations that could distort results. A dirty aerator, garden hose, hot water line, leaking faucet, or rarely used fixture may affect a sample.
Each bottle should be linked to a clearly documented location so the homeowner can understand whether a finding relates to the source water, treatment system, or household plumbing.
Step 5: Collect and Handle Samples Correctly
Accurate well water testing depends on controlled collection. The professional follows laboratory instructions and uses sterile or approved containers. Different substances may require different bottles, preservatives, fill levels, and handling methods.
The provider may remove faucet attachments, run cold water, and fill each container without touching its interior. Bottles must be labeled with the property, sampling point, date, and time.
Professionals understand that drinking water testing equipment cannot make up for poor technique. Bottles, gloves, meters, coolers, and field supplies must be suitable for the requested analysis and used correctly.
Step 6: Deliver Samples Within Laboratory Rules
Some samples must reach the laboratory quickly. Bacteria samples may require controlled cooling, and delays or heat can reduce sample quality.
The provider protects the bottles, completes the paperwork, and follows delivery instructions that document when and where each sample was collected.
Even advanced drinking water testing equipment cannot correct a sample stored too long or exposed to unsuitable conditions. Professional handling helps preserve the sample until the laboratory can begin its analysis.
Step 7: Understand the Laboratory Report
The report may list each substance, its measured amount, unit, and reference level. Some findings relate mainly to taste, staining, scale, or corrosion. Others may affect health or suggest a contamination pathway.
A qualified professional can explain the results in clear language. A finding listed as “not detected” generally means the substance was not found above the laboratory's reporting limit. It does not always mean that none is present.
The provider can also explain whether the issue may relate to the well, plumbing, or treatment equipment. This helps homeowners understand which part of the property may require further attention.
Step 8: Follow the Right Next Action
An unusual result does not always lead to the same solution. The response depends on the substance, its level, and whether confirmation is needed.
Possible next steps include:
- Repeat testing: A second sample may be appropriate when the result was unexpected or corrective work was completed.
- Well service or disinfection: A damaged cap, poor seal, repair, or bacteria result may require professional work followed by another test.
- Targeted treatment: Treatment should match the confirmed concern. A sediment filter will not necessarily address bacteria, nitrate, metals, or chemicals.
Homeowners should not choose treatment based only on a sales demonstration or basic home strip. Laboratory findings and qualified advice should guide the response.
Why Professional Service Matters
Home kits may offer limited screening, but they do not provide the same handling controls, laboratory detail, or professional interpretation. Sampling location, storage, timing, and delivery all affect the report.
A trained provider arrives with suitable drinking water testing equipment, documents each sample, follows laboratory procedures, and helps explain the findings.
Professional support is especially valuable during a property purchase because findings may affect decisions before closing. Buyers can review the results alongside information about the well, plumbing, and treatment equipment rather than relying on assumptions about the property.
Conclusion: When Professional Collection Helps
Reliable testing requires the right panel, suitable sampling points, careful collection, protected transport, and clear interpretation. Each step affects the accuracy and usefulness of the final report.
Guardian Angel Inspections provides professional well water testing for Central and South Florida homeowners and property buyers. Our team coordinates sample collection and laboratory analysis so clients receive clear information without managing the technical process themselves.
Contact Guardian Angel Inspections to schedule professional testing and take a practical step toward protecting household water safety.
Frequently Asked Questions
Can Clear Water Still Contain Contaminants?
Yes. Bacteria, nitrate, metals, and some chemicals may not change the water's appearance, smell, or taste. Laboratory analysis is needed to identify them.
How Often Should a Private Well Be Tested?
Florida health officials recommend annual well water testing for bacteria and nitrate. Additional testing may be needed after flooding, repairs, or noticeable changes.
Should Buyers Test Well Water Before Closing?
Yes. Current results help buyers understand the source water, treatment equipment, and overall water safety before closing.
Does a Water Softener Remove Every Contaminant?
No. A softener mainly addresses hardness minerals. It should not be assumed to remove bacteria, nitrate, metals, or chemicals unless designed for that purpose.
Why Is Specialized Equipment Needed?
Approved bottles, labels, temperature control, and other drinking water testing equipment help protect sample quality and support reliable laboratory analysis.
Disclaimer: The information on this website and blog is for general informational purposes only and is not professional advice. We make no guarantees of accuracy or completeness. We disclaim all liability for errors, omissions, or reliance on this content. Always consult a qualified professional for specific guidance.
Share this entry
Recent Posts



Request A Quote
OUR OFFICE HOURS
Monday – Friday 7.30am to 7pm
Saturday Sunday 7.30am to 5pm
24/7 Online Scheduling 7 days a week.